Troubleshooting_en
The following information can help to identify possible errors on the client side and it is useful to have them at hand, when contacting an administrator / support.
Version of the used browser
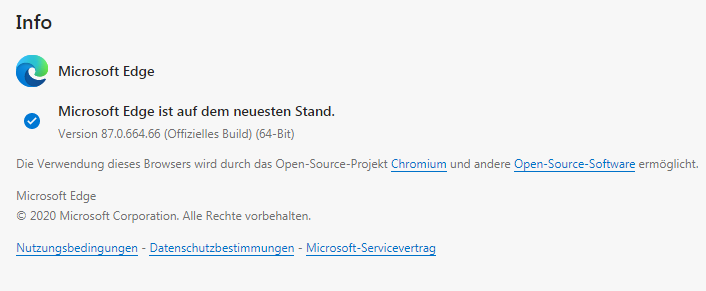
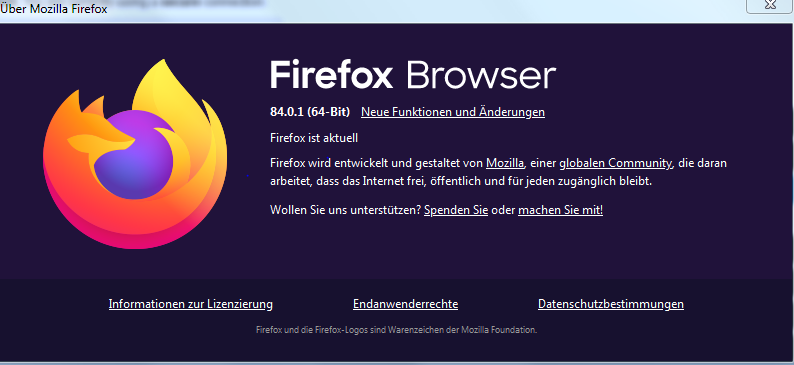
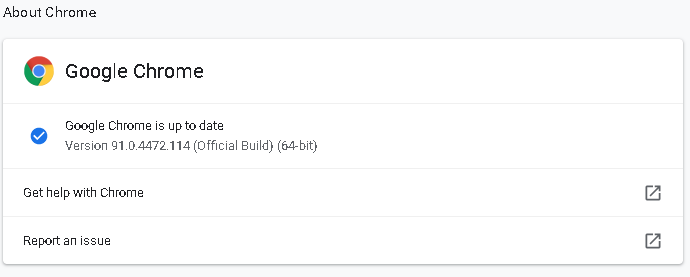
Displaying the version of the used browser (for example: Edge, Firefox and Chrome):
Microsoft Edge |
| Help and Feedback / Info about Microsoft Edge |
Mozilla Firefox |
| Help / About Firefox |
| Google Chrome |
| Help / About Google Chrome |
The supported browsers and browser versions by VISULOX are listed in the current documentation.
Other settings:
The settings of the used browser should be checked and possibly critical settings or addons should be disabled (e.g. popup blocker, noscript, etc).
Microsoft Edge
Edge's settings should be changed to prevent idle tabs from sleeping, which can disconnect the workspace:
Disable sleeping tabs in Microsoft Edge:
- Open Microsoft Edge.
Click the three dots (⋯) in the top-right corner and select Settings.
In the left sidebar, click System and performance.
Scroll down to the Optimize Performance section.
Toggle off the switch for:
"Save resources with sleeping tabs"
Optional: If you want more control, you can also add sites to the "Never put these sites to sleep" list.
After these changes, please set the following parameter on the VISULOX side:
visulox config -name api.sessioncookie.lifetime=240Native Client
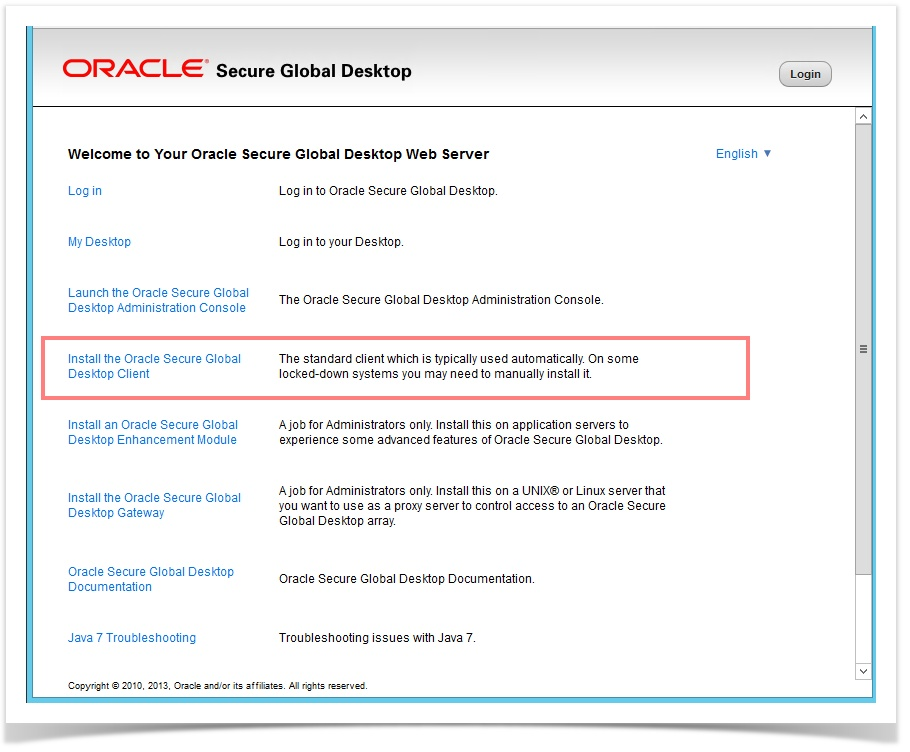
In case of problems with the automatic download of the native client, it can be downloaded and installed manually, if no direct forwarding to the login page is configured.
The Native Client is provided by Oracle.
Native Client |
|
Client versions |
|
Installation |
|
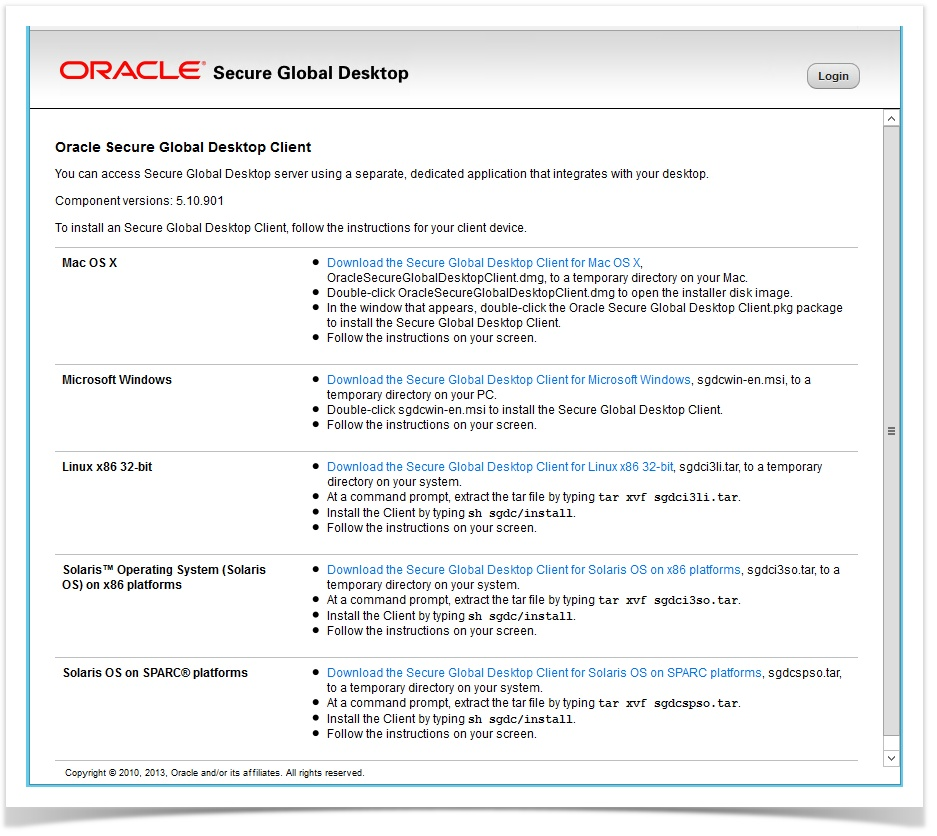

After installation, the Native Client can be started manually:
How to install the client for Linux Mint
sudo dpkg -i ./sgdclient_5.60.567-ubuntu22.04_x86_x64.deb
sudo apt-get install libxm4 libmotif-common
Tarantella Client Component (TCC)
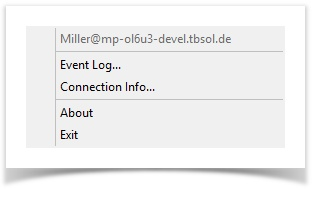
Once connected to a VISULOX PORTAL, a TCC connection icon (
TCC taskbar-menu |
|
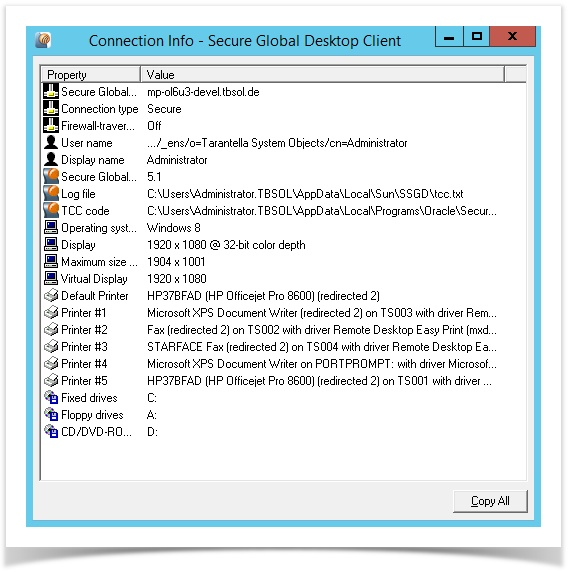
Connection Info |
|
Event Log |
|

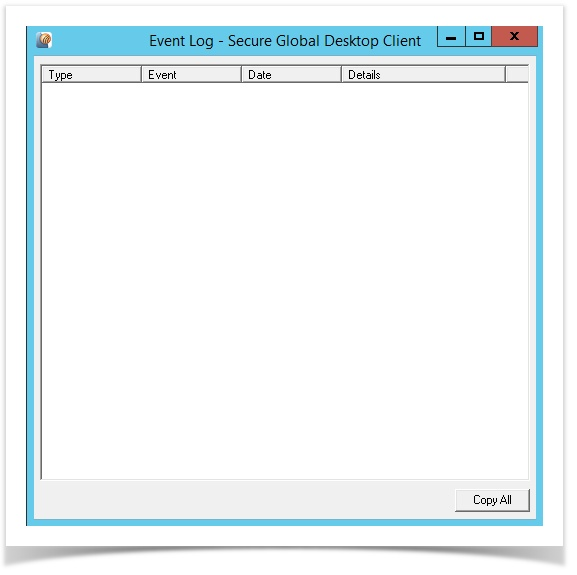
General: Special characters in passwords
In mixed environments (Windows / Linux and also cloud services) there are so called interoperability issues.
Therefore the following rules should be considered:
The allowed characters in a password can vary depending on the recommendations of the particular website, platform or system.
However, the following character types are generally recommended:
- Characters: Upper case characters (A-Z) and lower case characters (a-z).
- Numbers: (0-9).
- Special characters:
These may vary by system, but typically include:
- ! @ # $ % ^ & * ( ) _ - + = [ ] { } | \ : ' , . ? / ` ~ " ; < >.
VISULOX PORTAL Login error codes
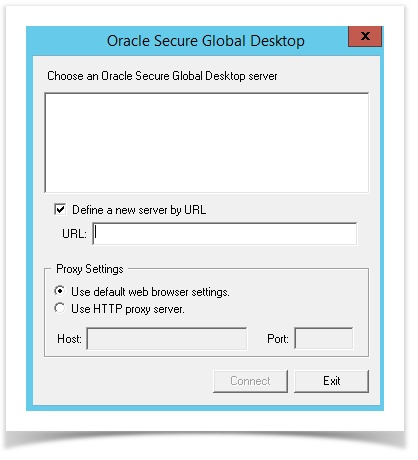
The -1 error code is due to invalid data provided, so that it could not get a connection to the VISULOX PORTAL. Maybe due to an invalid profile.
The -7 is more than likely a proxy problem, maybe due to proxy chaining.
#define EHTTPCONNECTFAILED -1
#define ENEEDPROXYAUTH -2
#define EHTTPERRORRESPONSE -3
#define EPROXYERRORRESPONSE -4
#define EPROXYNONBASICAUTH -5
#define EHTTPSSLHANDSHAKE -6
#define ESERVERCHAIN -7 // error occured in the server chain
#define EUSERCANCELLED -8 // user cancelled the request (e.g., by using
// the Cancel button on an Auth dialog)
#define EDOWNGRADEDSSL -9
Application start via Workspace
When an application is started via Workspace a small Connection Progress window is opened. Mostly this window disappears immediately and the application is launched. If there is a problem with the connection to the application, then this window stays open and shows the errors occurred.
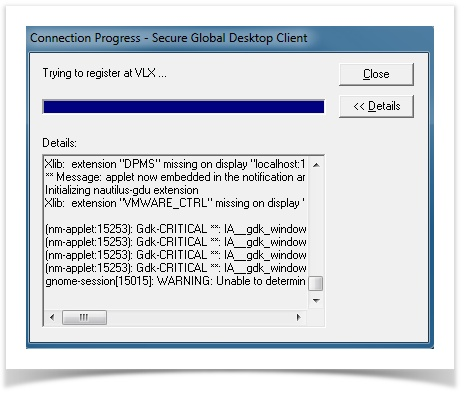
With Paste & Copy the output can be copied to a text file and send to a supervisor / support.
Error during start of an application in Workspace
It may happen, that the Tarantella Client Component (TCC) disappears or has no connection to the VISULOX PORTAL, the following error is displayed in the Workspace:

In this case refreshing the Workspace (F5) or logging out and logging in again will solve the problem.
VISULOX shell script tracing
VISULOX Shell scripts are running in the background. Errors can be found in the log.
For testing, the following lines in the header of the shell scripts activate tracing:
#!/bin/bash
# verify helpful lines
exec 99> <path to a log file>
BASH_XTRACEFD=99
set -x
Using Flash Player and checked out films
Flash is no longer supported.
Citrix Receiver
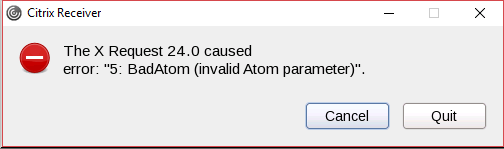
The “Cancel”-button has to be used to close the window. The application starts as usual.
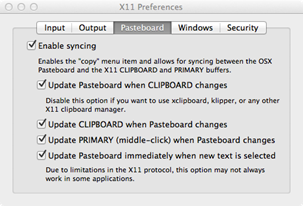
Copy & paste for Mac OS
- Open the X11 preferences and activate “Emulate three button mouse”
Enable all actions for Pasteboard / Clipboard
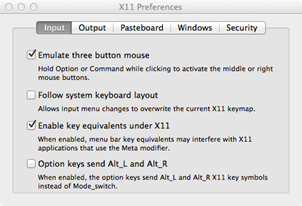
Paste = ALT + click
Copy = Select the text to copy it to the clipboard
Copy & paste in HTML5 sessions / application toolbar
When you are displaying an application, a toolbar on the left side of the application tab is shown. The toolbar has icons that can be used for some operations, such as copy and paste.
| Icon | Description |
|---|---|
| Copies the selected text to the clipboard. |
| Pastes the selected text from the clipboard. |
| Displays menu options for sending keyboard shortcuts to the application window. |


Copying and pasting between applications
Copy and paste text to and from the client, and between applications. When the HTML5 Workspace is used, it is not allowed to access the local device's clipboard directly.
This means for copy and paste on the HTML5 Workspace there are extra stages necessary, compared to the standard Workspace.
The following changes apply for copy and paste:
- Data must be placed on to the HTML5 Workspace clipboard first, before it can be pasted to a remote application or to the client device.
The copy icon in the side toolbar can be used to retrieve the data that should be copied from an application and place it on the Workspace clipboard. - The paste icon can be used to copy text to the client device's clipboard.
The following procedures describe how to copy and paste text for applications:
Copying from an application to a client device
- Select and copy the text in the application.
Use the normal method for the application you are copying from. For example, use a menu option in the application. - Retrieve the text from the application.
Click the Copy icon in the application toolbar.
Click Confirm to allow the application to copy text to the client device clipboard. - Paste the copied text into an application on the client device.
Use the normal method for the application you are pasting to. For example, use a menu option in the application.
Pasting to an application from a client device
- Select and copy the text from the application on the client device. Use the normal method for the application you are copying from.
For example, use a menu option in the application. - Retrieve the text from the client device clipboard.
Click the Paste icon in the application toolbar.
The Paste dialog is shown: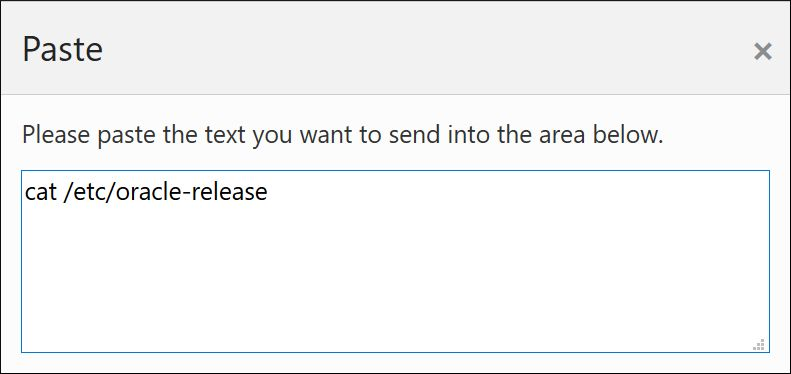
Paste the copied text into the text box on the paste dialog.
Do either of the following:
• Right-click and select paste.
• Use the Ctrl-V keyboard shortcut.
This will automatically close the paste dialog.Paste the copied text into the pplication.
Use the normal method for the application you are pasting to. For example, use a menu option in the application.
Copying between applications
- Select and copy the text in the first application. Use the normal method for the application you are copying from.
For example, use a menu option in the application. - Retrieve the text from the application.
Click the Copy icon in the application toolbar. - Switch to the second application.
The copied text is sent automatically to the second application. - Paste the copied text into the second application.
Use the normal method for the application you are pasting to. For example, use a menu option in the application.
Sending local keyboard shortcuts to the remote application
The Windows key and keyboard shortcuts for managing windows can be sent to the remote session.
- Click the keyboard icon in the application toolbar.
Options are shown for inserting one of the following remote keyboard shortcuts:
• Ctrl-Alt-Del
• Windows key Click the required remote keyboard shortcut.
The key presses are sent to the remote application window.